PATIENT INFORMATION
Peripheral Vascular Examination (OSCE)
Introduction
- Greet the patient and introduce yourself
- Confirm patient details ✍
- Explain the procedure in a patient friendly manner
- Get patient consent ✍
- Wash hands ✋
- Ensure the patient’s limbs and abdomen are exposed
- Check the patient is not in any pain and position them on the bed with the head at 45°
General Inspection of the patient
Observe the patient for any clinically relevant signs:
 Scars: can indicate previous surgery or ulcers
 Missing digits or limbs: can indicate amputation due to secondary critical ischaemia
Observe any objects or equipment surrounding the patient:
 Prescriptions 💊
 Mobility aids ♿
 Vital signs
 Medical equipment: dressings or prosthetic limbs
Upper limbs
Inspect and compare the patient’s upper limbs for:
 Gangrene: skin colour changes caused by inadequate perfusion of tissues
 Xanthomata: raised, yellow, cholesterol rich deposits on hands and wrists which are associated with hyperlipidaemia
 Peripheral pallor: pale skin due to poor perfusion
 Tar staining: caused by smoking and can increase risk of cardiovascular disease
 Peripheral cyanosis: bluish skin due to low SpO2 in tissues
Assess the temperature of the upper limbs using the back of your hand:
 In healthy individuals, the limbs should both be warm
 Cold ❄, pale limbs indicate poor arterial perfusion
Measure the capillary refill time in the hands to assess peripheral perfusion:
- Apply pressure to the fingertip for five seconds
- In healthy patient’s, normal colour will return in under two seconds
- If it takes longer than two seconds, it indicates poor peripheral perfusion
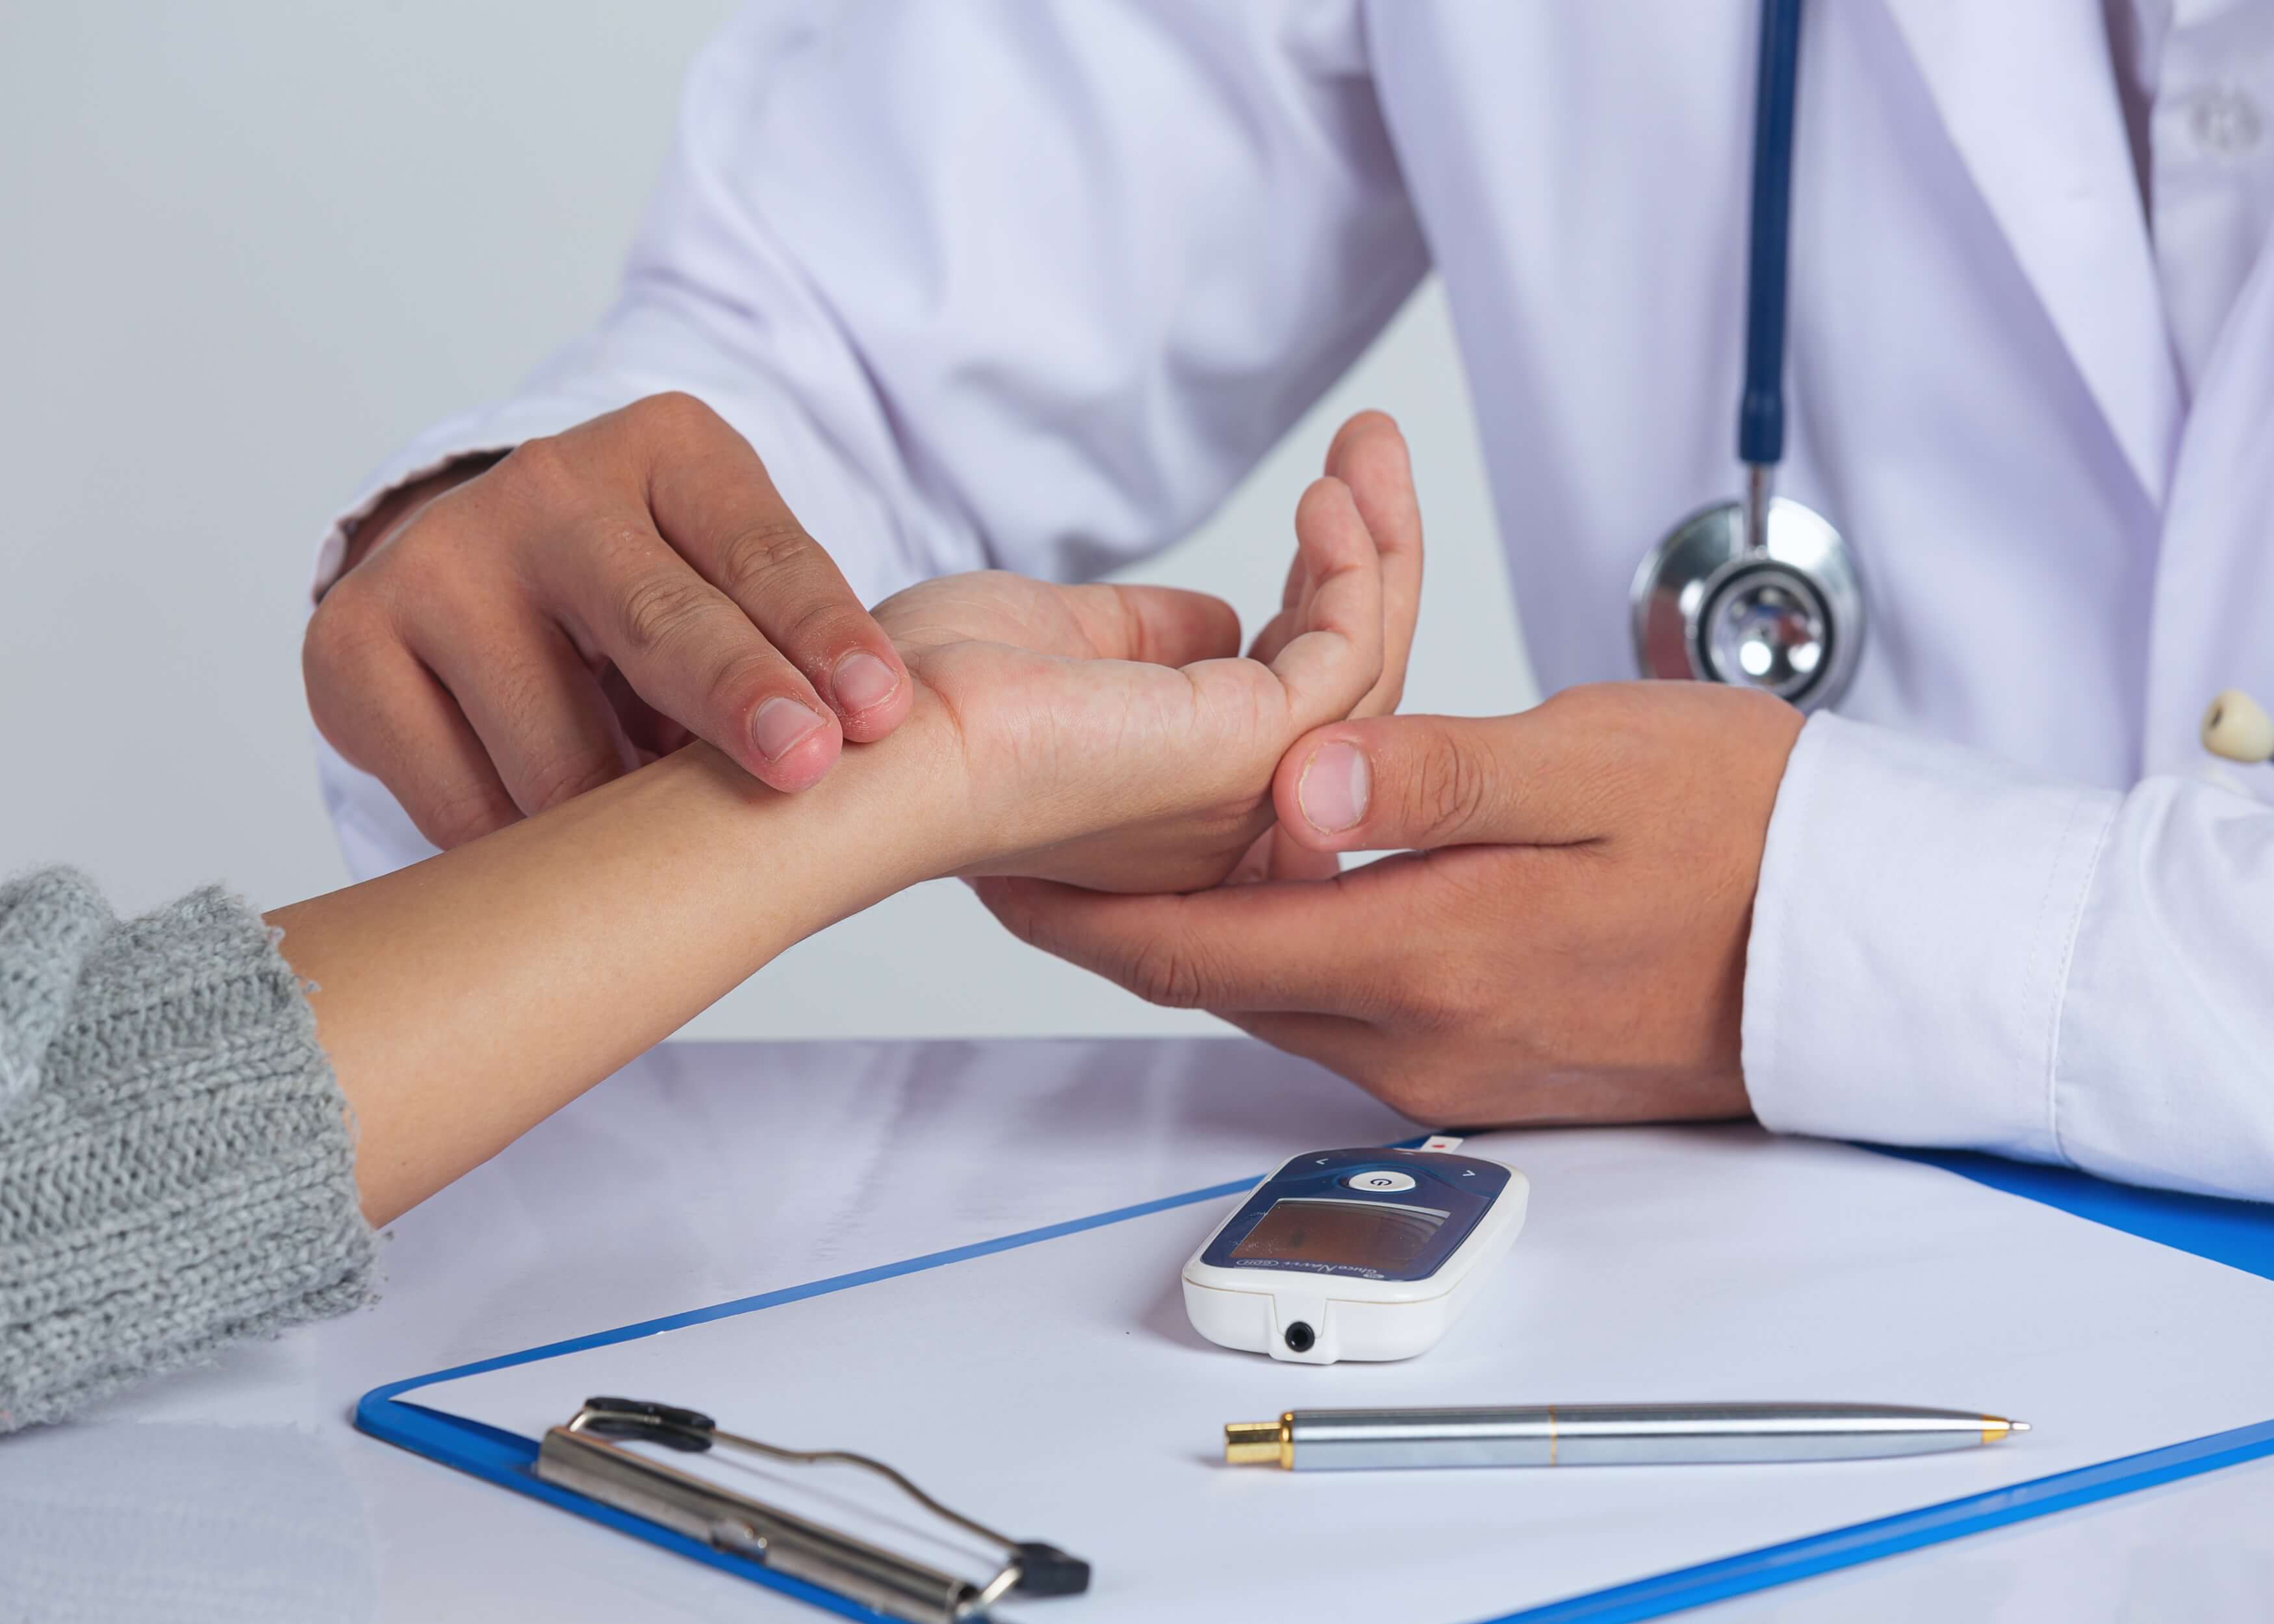
Palpate the Radial Pulse:
 Use your index 👉 and middle fingers to palpate the patient’s radial pulse
 Assess its rate and rhythm for 5 or more cardiac cycles
Radio-radial delay:
 When the radio pulses 💓 are not synchronised between the two arms
 Palpate simultaneously to identify this
 This can be caused by aortic dissection or subclavian artery stenosis
Palpate the Brachial pulse:
 Palpate the brachial pulse and assess the volume and character of it in both arms
- Use your left hand to support the patient’s right forearm which should be externally rotated whilst their upper arm is abducted
- Use your right hand to palpate medial to the brachii tendon, and lateral to the humerus
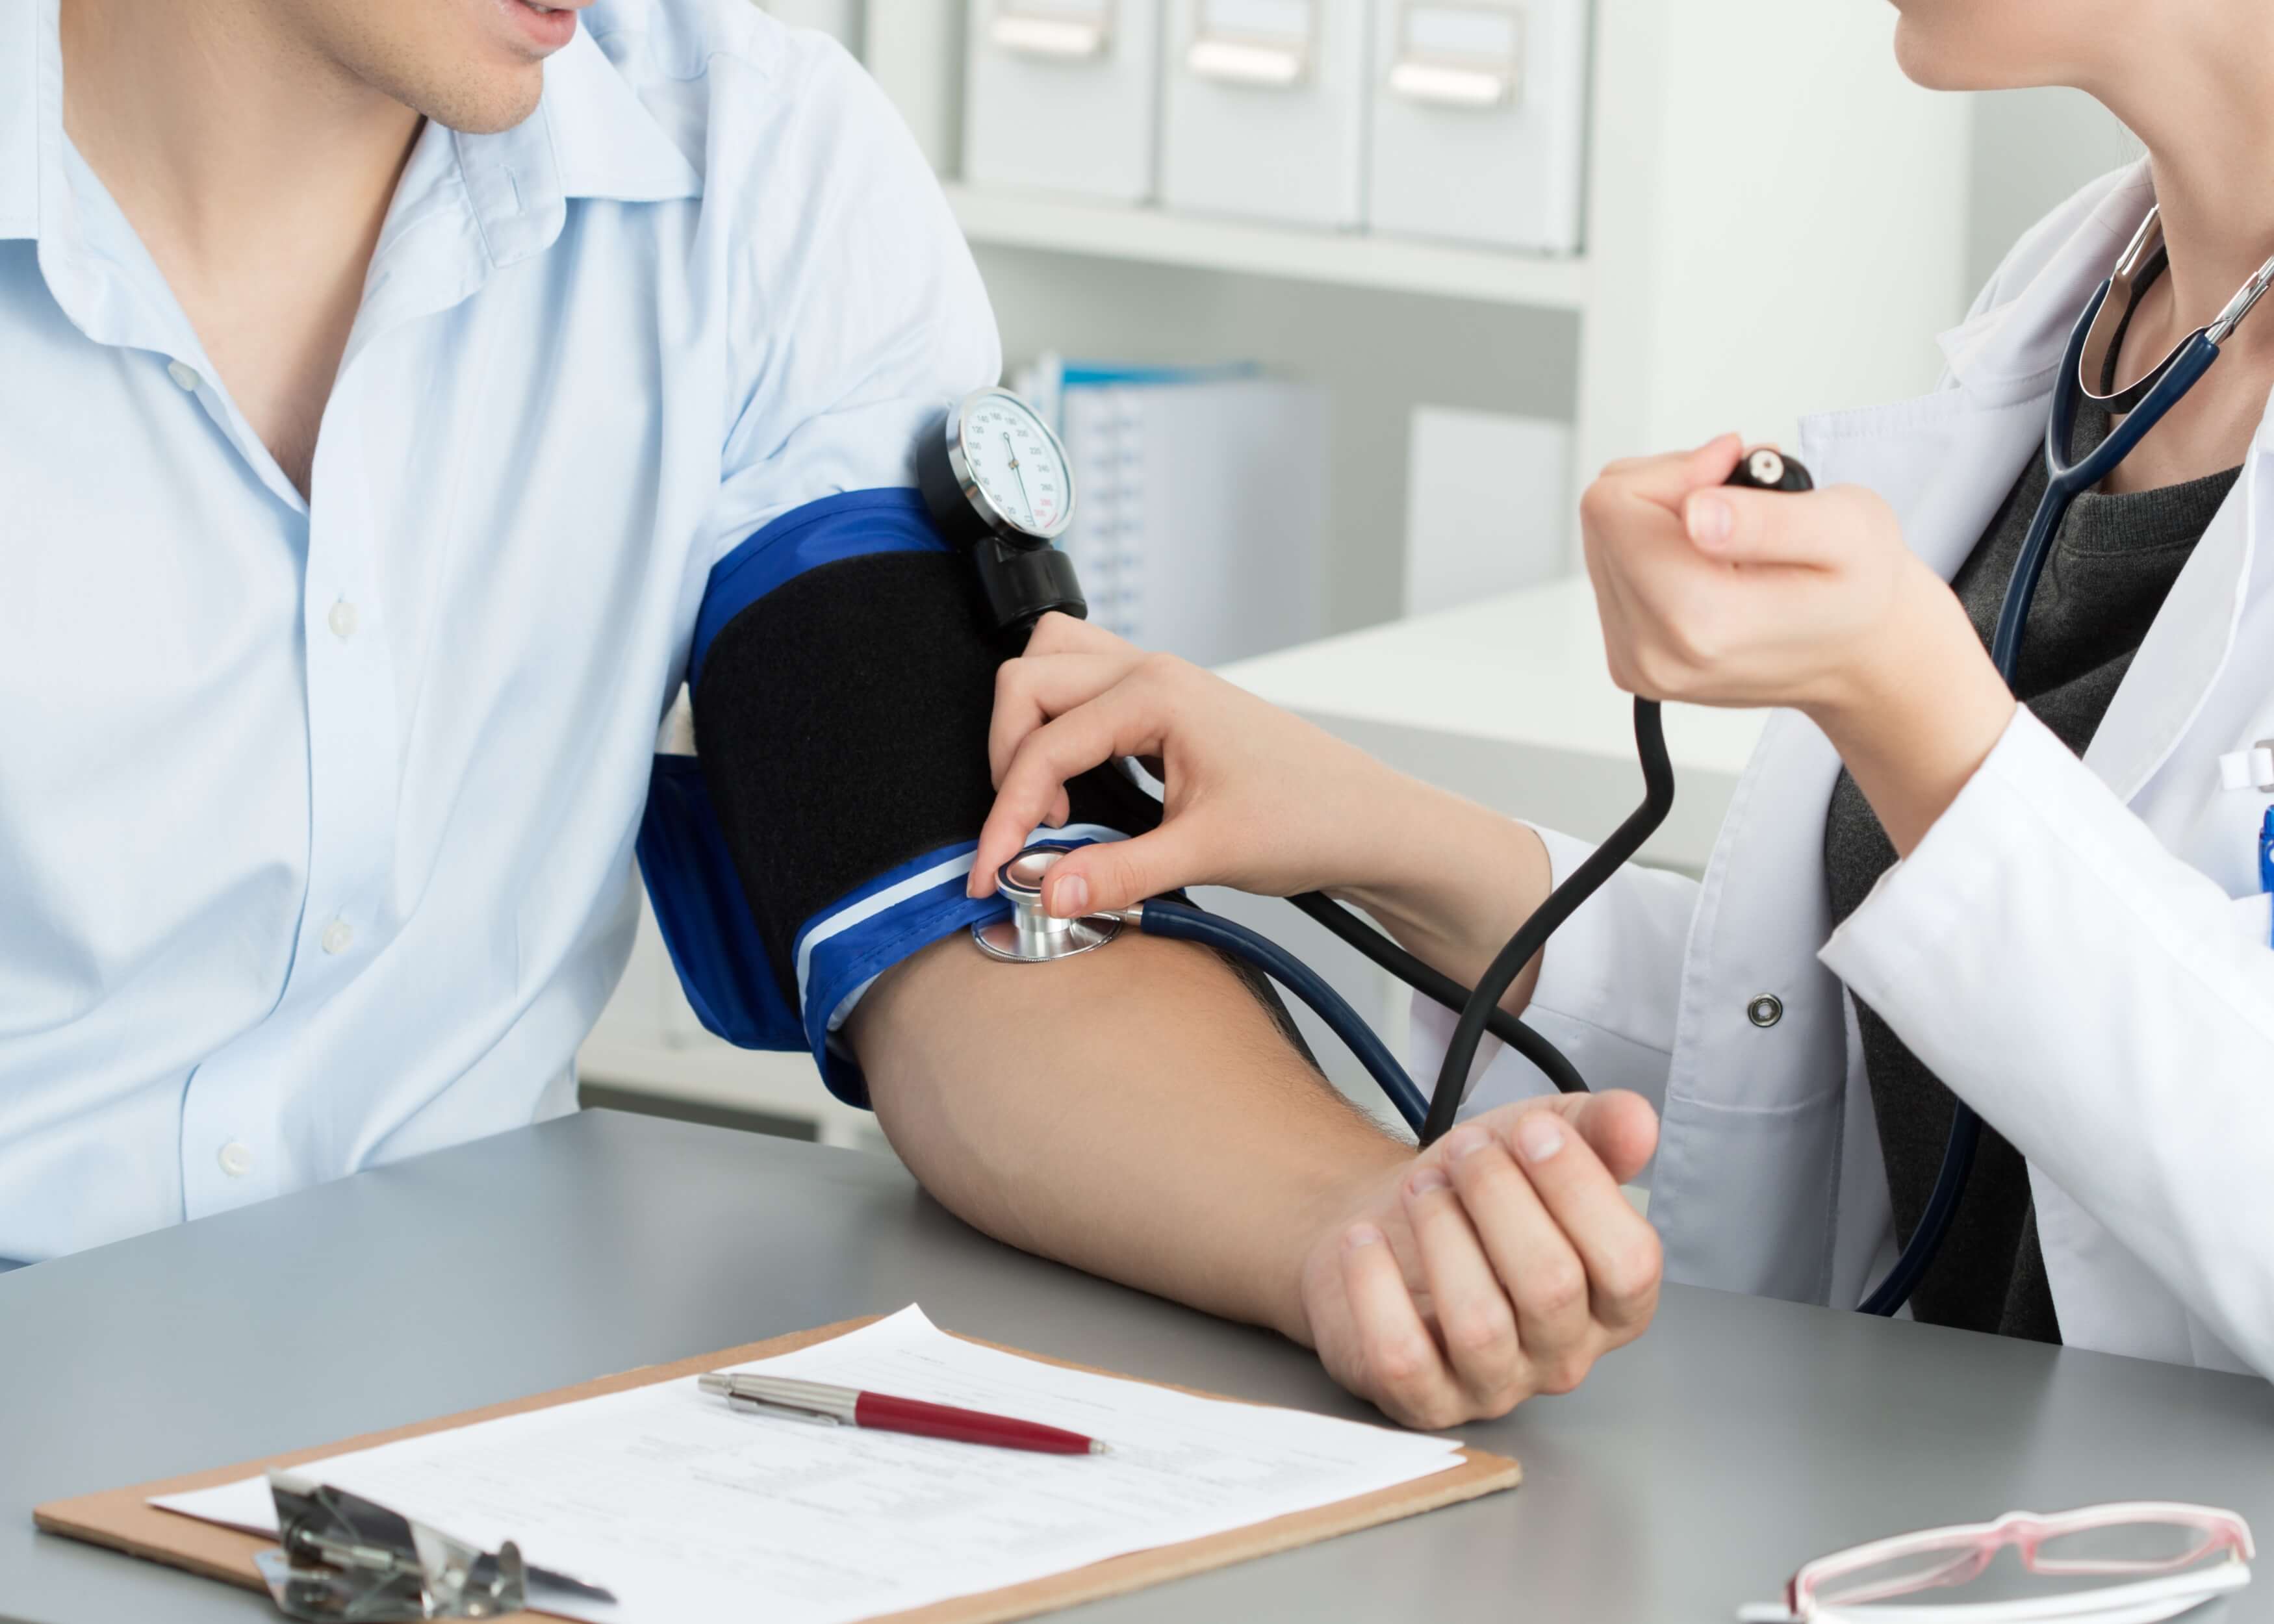
Measure blood pressure:
 Measure the blood pressure in both arms
 A wide pulse 💓 pressure: suggests aortic regurgitation or aortic dissection
 More than 20 mmHg difference between the arms: associated with the aortic dissection

Carotid pulse
Auscultate the carotid artery to check for bruits:
 Bruits may indicate carotid stenosis, meaning you cannot palpate it as you may dislodge a carotid plaque which could result in an ischaemic stroke
 To do this you should use your stethoscopes diaphragm to listen as the patient takes a deep breath over the carotid pulse 💓
Palpate the carotid pulse:
- Locate the carotid pulse with your fingers 👉
- Assess its character and volume
Abdomen
Inspection:
 Inspect the abdomen to check there are no pulses visible to the eye, starting at the abdominal aorta
Palpate the aorta:
 Perform a deep palpation using your hands just above the umbilicus in the midline
In healthy patients your hands will move superiorly with each pulse 💓
If your hands move outwards, it can indicate an expansile mass is present
 Further tests are required before diagnosis can be made from this procedure
Auscultate the aorta and the renal arteries:
 To identify any vascular bruits which may indicate turbulent blood flow
 Aortic bruits: auscultate 1-2cm above the umbilicus
Indicate an abdominal aortic aneurysm
 A renal bruit: auscultate 1-2cm above the umbilicus, lateral to the midline either side
Indicate renal artery stenosis
Lower limbs
Inspect and compare the lower limbs:
 Gangrene: skin colour changes caused by inadequate perfusion of tissues
 Xanthomata: raised, yellow, cholesterol rich deposits on knee and ankle which are associated with hyperlipidaemia
 Peripheral pallor: pale skin due to poor perfusion
 Peripheral cyanosis: bluish skin due to low SpO2 in tissues
 Venous ulcers: minimally painful, large, shallow ulcers with irregular borders in the ankle region
 Arterial ulcers: painful, small, deep ulcers with defined borders in the digits
 Muscle wastage: due to chronic peripheral vascular disease
 Paralysis: critical limb ischaemia can result in weakness or paralysis
 Scars: indicate previous surgery or ulcers
 Ischaemic rubour: red discolouration of the leg
 Missing digits or limbs: amputated following secondary critical ischaemia
 Hair loss: chronically impaired tissue perfusion
 I
I
Assess the temperature of the lower limbs using the back of your hand:
 In healthy individuals, the limbs should both be warm 🌡
 Cold ❄, pale limbs indicate poor arterial perfusion
Measure the capillary refill time in the feet to assess peripheral perfusion:
- Apply pressure to the toe for five seconds ⏰
- In healthy patient’s, normal colour will return in under two seconds
- If it takes longer than two seconds, it indicates poor peripheral perfusion
Palpate the Femoral pulse:
 Palpate at the mid inguinal point to check it is present
 Assess its volume
Radio-femoral delay:
 Palpate both the femoral and radial pulse 💓 at the same time to assess for this
 In a healthy patient these pulses will be synchronised
 If the pulses are not synchronised, it can indicate radio-femoral delay
Auscultate over the femoral pulse:
 Can identify bruits which if present, can suggest either iliac or femoral stenosis
Palpate popliteal pulse:
 Located in the inferior region of the popliteal fossa
- Place your thumbs on the tibial tuberosity
- Flex the patients knee to a 30° angle
- Put your fingers in the popliteal fossa
- You should be able to feel a pulse 💓
Palpate the Posterior tibial pulse:
 Palpation posterior to the medial malleolus of the tibia
 Confirm its presence
 Compare its strength between the 2 feet 👣
Palpate the Dorsalis pedis pulse:
 Palpate over the dorsum of the foot 👣, beside the extensor hallucis longus tendon over the second and third cuneiform bones
 Confirm its presence and strength
Examine sensation:
 Significant peripheral vascular disease, commonly causes slowly progressive peripheral neuropathy, which results in sensory loss
 You should perform a gross assessment of peripheral sensation in patient
- Use some cotton wool to touch the sternum to establish if they feel with their eyes closed
- Repeat, moving distal to proximal, and make a note of where they cannot feel the sensation
Buerger’s test
 Tests arterial supply to the leg
- With the patient lying down raise both of their feet 👣 to a 45° angle for one to two minutes
- Observe the colour of the limbs
 Pallor: peripheral arterial pressure cannot overcome gravity and so limb perfusion is reduced. Record the angle at which this occurs, this is Buerger's angle (any less than 20° indicates severe limb ischemia)
 In healthy patients the whole leg will remain pink
3. Sit the patient up with their legs hanging over the side of the bed
 Gravity should re perfuse the leg, meaning colour should return. (The leg will initially turned blueish as deoxygenated blood enters through the tissue but it will then become red again)
Finishing the examination
- Thank the patient and explain you are now finished
- Wash hands ✋
- Summarise what the examination has revealed
Summary:
- Greet the patient and briefly explain the examination
- Inspect the patient for any clinically relevant signs
- Inspect and compare the patient's upper limbs, and assess the temperature
- Measure the capillary refill time in the hands
- Palpate the radial pulse, assess the radio-radial delay and palpate brachial pulse
- Measure blood pressure
- Auscultate and palpate the carotid artery
- Inspect, palpate and auscultate the aorta
- Inspect and compare the lower limbs and assess the temperature
- Measure the capillary refill time in the feet
- Palpate the femoral pulse, assess the radio-femoral delay and auscultate the femoral pulse
- Palpate the popliteal pulse, the posterior pulse, the dorsals pedis pulse
- Examine lower limb sensation
- Perform Buerger's test
- Complete the examination by thanking the patient
Related Articles
This step by step guide is designed to take you through the peripheral venous examination in OSCEs.


