Shoulder Examination (OSCE)
Introduction
 Greet the patient and introduce yourself 👋
 Briefly explain the procedure in a patient friendly manner
 Get patient consent ✅
 Expose upper body as required, ask patient to stand
 Wash hands ✋
 Check the patient is not in any pain
Look
Inspect the patient for any clinically relevant signs:
 Scars: indicative of prior surgery 🏨
 Muscle wastage: caused by lower motor neuron lesion or disuse atrophy
 Obesity: causes joint pathology
Identify any clinically relevant objects/equipment:
 Prescriptions: indicate recent medications 💊
 Aids/adaptations: support slings indicative of shoulder pathology ♿
Inspect the anterior aspect of the shoulder joints:
 Swelling: asymmetry indicates unilateral swelling
 Scars: indicate prior surgery/trauma 🏨
 Bruising: indicate recent surgery/trauma
 Wastage of deltoid muscles: identify asymmetry caused by injury to axillary nerve or disuse atrophy
 Shoulder girdle asymmetry: indicative of scoliosis/ fracture/dislocation/arthritis
 Prominent bones: indicate fracture or glenohumeral joint anterior dislocation
Inspect the lateral aspect of the shoulder joints:
 Wastage of deltoid muscles: identify asymmetry caused by injury to axillary nerve or disuse atrophy
 Scars: indicative of prior surgery/trauma 🏨
Inspect the posterior aspect of the shoulder joints:
 Scoliosis: congenital/acquired lateral spinal curvature
 Scars: indicative of prior surgery/trauma 🏨
 Scapular winging: if scapula protrudes when patient brushes against a wall, indicates anterior weakness of ipsilateral serratus muscles caused by a long thoracic nerve injury
 Asymmetry of supraspinatus and infraspinatus muscles: indicates muscle wastage caused by suprascapular nerve lesion or chronic rotator cuff tear
 Asymmetry of trapezius muscles: indicates muscle wastage due to spinal accessory nerve lesion or disuse atrophy
Feel
Assess the temperature of the shoulder joints:
 Compare the two, using the back of your hands
 A raised temperature, in conjunction with swelling and tenderness, indicates inflammatory/septic arthritis
Palpate the shoulder joint:
 Acromion: continuation of the scapular spine
 Acromioclavicular joint: joint between acromion and clavicle
 Clavicle: between the acromion and the sternum
 Sternoclavicular joint: between clavicle and sternum
 Head of humerus: 1cm inferolateral to coracoid process
 Scapula’s Coracoid process: bony prominence 2cm inferior and medial to clavicular tip
 Scapula’s spine: between acromion and thoracic vertebrae
Move
Assess active (independently controlled) movements:
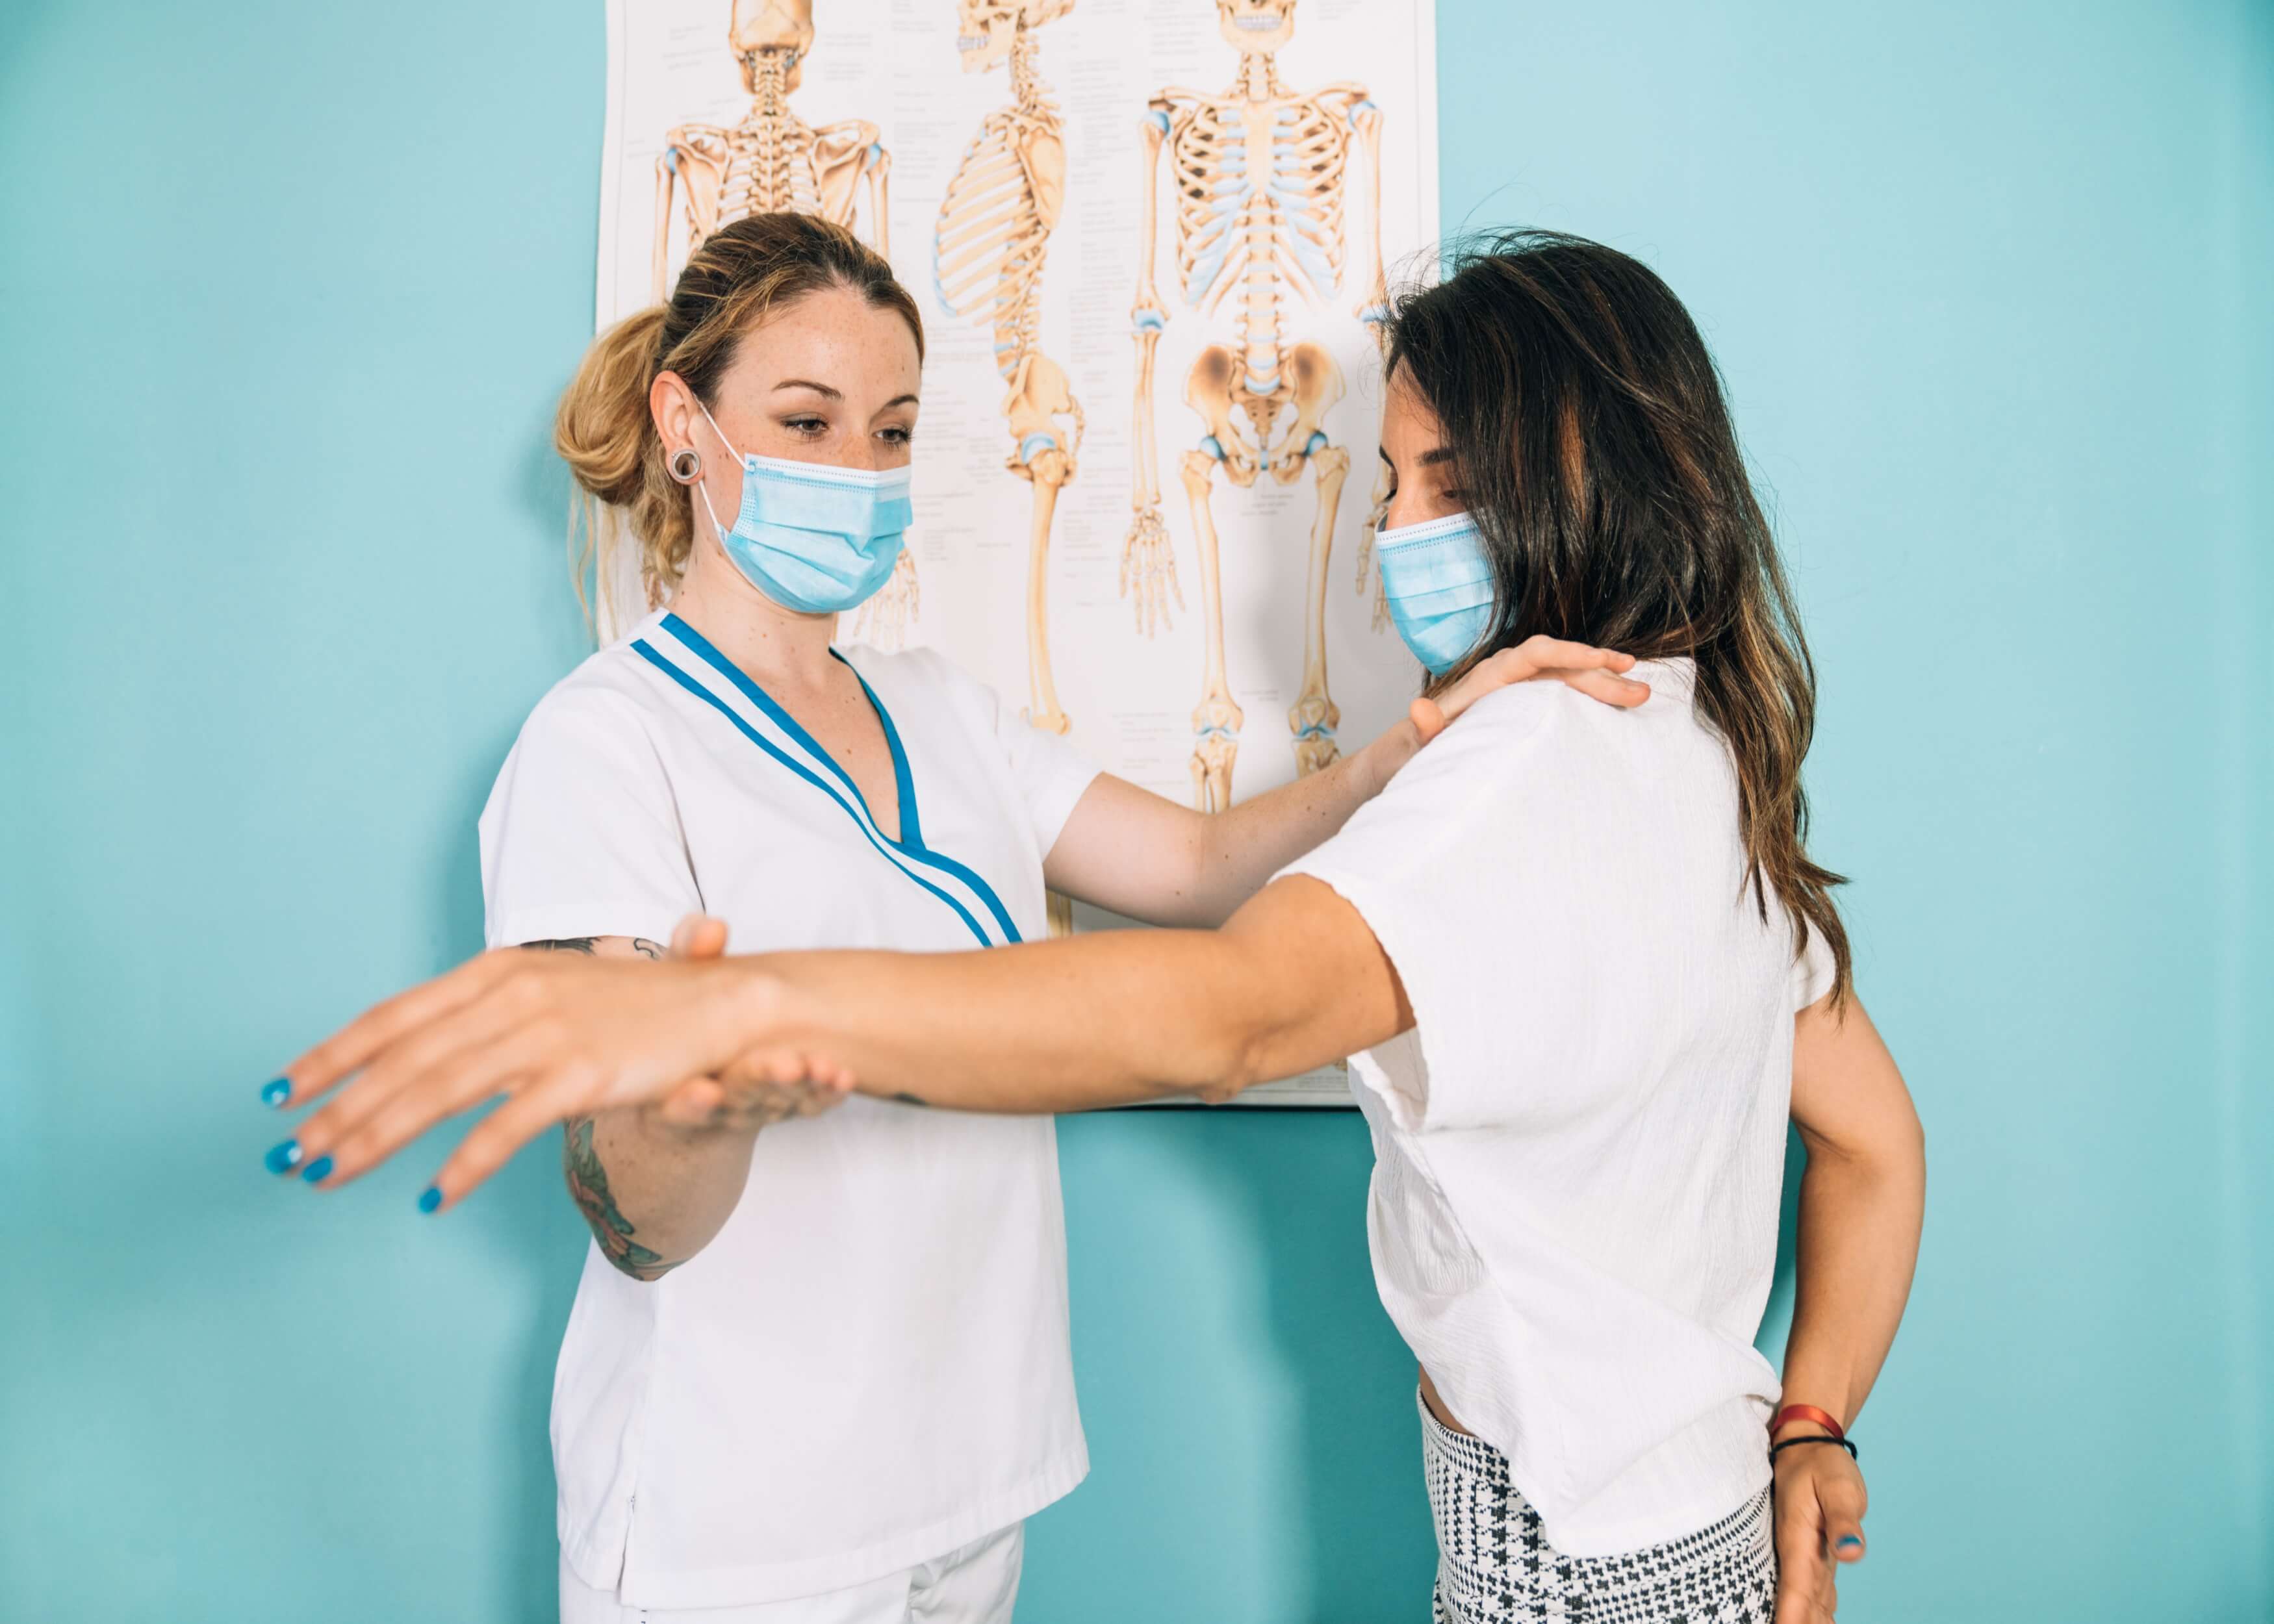
 External rotation and abduction of shoulder joint: put hands behind head, elbows pointing outwards
 Internal rotation and abduction of shoulder joint: put hands behind back, reaching as far as possible up spine (normal = T4-T8)
 Shoulder flexion: raise arms forward until pointing to ceiling (normal = 150-180°) 📐
 Shoulder extension: stretch arms out behind you (normal = 40°) 📐
 Shoulder abduction: raise arms out to side until hands meet above head (normal = 180°) 📐
 Shoulder abduction: move arms in front of body, from one side to other, keeping them straight (30-40°) 📐
 External rotation: flex elbows to 90° at side of body and move forearms outwards (normal = 80-90°) 📐
 Scapular movement: abduct shoulder whilst you palpate the scapula’s inferior pole, assessing movement smoothness and degree
Assess passive (clinician controlled) movements:
 Repeat the above movements passively
 Adhesive capsulitis: stiffness/pain in shoulder joint, causing reduced active and passive movement range
 Axillary nerve palsy: caused by shoulder dislocation, associated with sensation loss over the lateral deltoid region, deltoid, biceps and brachialis weakness

Special tests
Supraspinatus assessment:
- Abduct patient’s arm 90°, then move it 30° forwards 📐
- Rotate arm internally so thumb point floor
- Push down on arm, ask patient to resist this
 Weakness of supraspinatus is indicative or a supraspinatus tear
 Pain is indictive of impingement of supraspinatus
The painful arc:
- Maximally abduct arm, passively
- Ask patient to slowly lower arm to resting position
 Pain when abducting the arm, between 60 and 120° indicates supraspinatus tendonitis/impingement 📐
 Further tests required for diagnosis
Shoulder impingement syndrome:
 Rotator cuff muscle tendons are inflamed in the subacromial space, causing pain, weakness, reduced movement, painful arc, supraspinatus tendonitis
External rotation against resistance:
- Flex elbow to 90°, slightly abducted 📐
- Maximally externally rotate the elbow, passively
 Pain indicates infraspinatus tendonitis
 If arm internally rotates/if power is lost, it indicates a tear in infraspinatus/teres minor tendon, or muscle wastage and/or lower motor neuron lesion
External rotation in abduction:
- Abduct arm 90°, and flex elbow to 90° 📐
- Maximally externally rotate shoulder, passively
 If arm falls, it is called Hornblower’s sign, caused by axillary nerve lesion or teres minor pathology
Internal rotation against resistance:
- Ask patient to put back of hand on lower back ✋
- Lightly press hand (resistance)
- Ask patient to move hand away from back ✋
 Inability to move hand indicates possible subscapular nerve lesion or subscapularis muscle pathology
Scarf test:
- Flex shoulder joint 90°, passively, while patient positions their hand on examination side on opposite shoulder
- Push elbow towards opposite shoulder
 Pain indicates acromioclavicular joint pathology such as osteoarthritis
Completion
 Tell the patient the examination is complete ✅
 Thank patient
 Wash hands ✋
 Summarise what the examination revealed
Summary:
- Greet the patient and briefly explain the procedure
- Inspect the patient to identify anything clinically relevant
- Inspect the anterior, lateral and posterior aspects of the shoulder
- Assess the temperature and palpate the shoulder joint
- Assess active and passive shoulder movements
- Perform supraspinatus assessment
- Assess for the painful arc
- Assess for shoulder impingement syndrome
- Assess external and internal rotation against resistance
- Assess external rotation in abduction
- Perform the scarf test
- Complete the examination by thanking the patient
Related Articles
This step by step guide is designed to take you through the hand and wrist examination in OSCEs.
This step by step guide is designed to take you through the knee examination in OSCEs.


